How to synchronize RSEvents!Pro with Google Calendar
Steps you need to take:
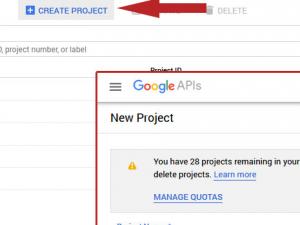
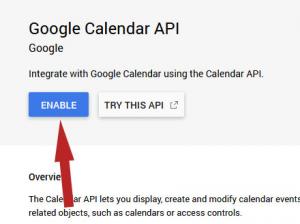
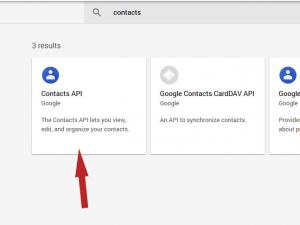
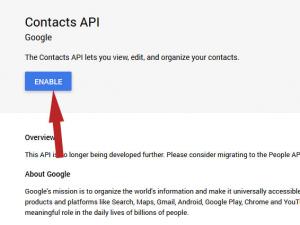
1. Access Google APIs Console.
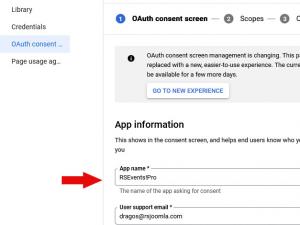
2. Login using your Google account and Create a new Project.
3. Add a project name and click on the "Create" button (wait a few moments after you click the create button to load your project, otherwise you can manually select it).
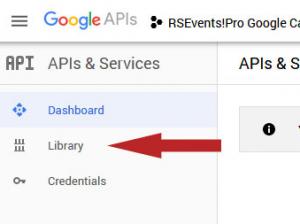
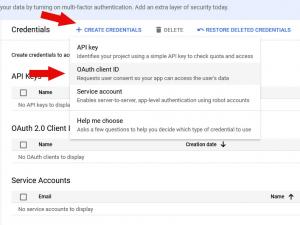
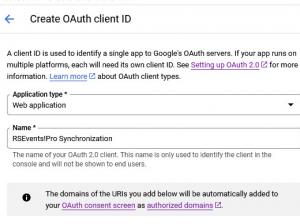
6. From APIs & Services select Credentials and click on the Create Credentials top button. Then, click on the 'Oauth Client ID' link.
7. Select the Web Application (this can be anything, for example RSEvents!Pro synchronization), add the name of your OAuth client ID (not the display name of your app)
8. Within 'Authorized JavaScript origins' add your website (examples):
http://example.com
https://www.rsjoomla.com
- if you're testing this on localhost:
http://localhost
9. Within 'Authorized redirect URIs' add the following (examples, use https:// if you're using a secure connection):
http://myWebsite.com/administrator/index.php?option=com_rseventspro&task=settings.google
- if you're testing this on localhost:
http://localhost/myJoomlaSite/administrator/index.php?option=com_rseventspro&task=settings.google
IMPORTANT: make sure you hit enter after adding each of these paths
The links themselves have to be precisely added. For example, if you're accessing the website using www. or without www., you'll have to specify this as well. Examples:
http://www.myWebsite.com/administrator/index.php?option=com_rseventspro&task=settings.google
http://myWebsite.com/administrator/index.php?option=com_rseventspro&task=settings.google
10. Click on the Create button
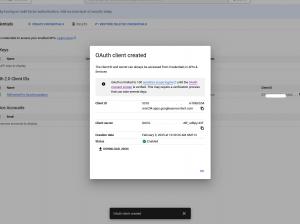
11. Your "Client ID" and the "Client secret" keys will be generated (these will be used within your RSEvents!Pro configuration).
13. Navigate to backend > Components > RSEvents!Pro > Settings > Synchronization.
14. Setup your Google Calendar configuration:
- Google Client ID: this would be the Client ID key you've just generated (notice above picture).
- Google Secret: your Google generated secret key (notice above picture).
- Event category: select the category in which the events will be imported to.
- Event location: you can either select a predefined location or let the import tool create new locations based on your Google events.
15. Save your configuration using the top button (your settings have to be saved first).
16. After the page refreshes, the "Synchronize" button will appear and can be clicked.
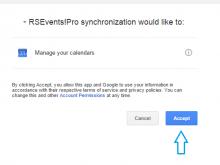
17. You will be redirected to Google to allow this application to access your calendar data .
If everything is setup correctly a confirmation message with the number of events imported will appear.
In case you're receiving an "No events were imported during the synchronization" error message, then most likely your events have already been imported from a previous process (you can check this by comparing your RSEvents!Pro events with the ones from your Google Calendar).
Synchronize RSEvents!Pro automatically with Google Calendar/Facebook
In order to synchronize RSEvents!Pro with Google Calendar or Facebook automatically, a server side Cron job is required. This can be configured on your cPanel server and add a new Cron job with the following command:
lynx "http://www.myWebsite.com/index.php?option=com_rseventspro&task=autosync"
In case this doesn't work, use the following command:
wget -O /dev/null "http://www.myWebsite.com/index.php?option=com_rseventspro&task=autosync"
13 persons found this article helpful.
You Should Also Read
How to create recurring events |
How to allow RSEvents!Pro send event invites to your Gmail contacts |
How to change the event editing calendar start day |
