Manage Submissions
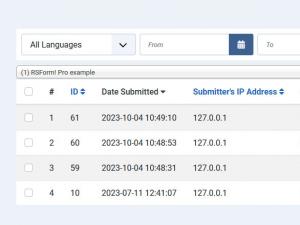
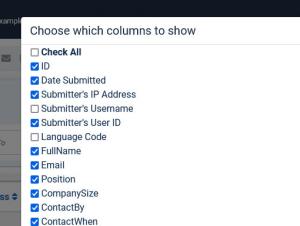
In the Manage Submissions tab you can view the submissions for your forms. You can select the form you want to display submissions for and also choose what fields to display from that form. In order to hide certain form fields you simply need to click the Choose which columns to show button and uncheck the fields you do not want to view.
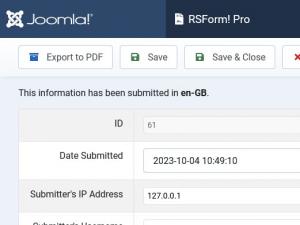
Another feature is the possibility to search submissions based on a fixed value or between a certain time interval. This tab also incorporates a language selector for your submissions to make the searches more relevant. You can Resend Emails for submissions and also Edit or delete them. When editing a Submission, an Export to PDF option is available at the top menu.
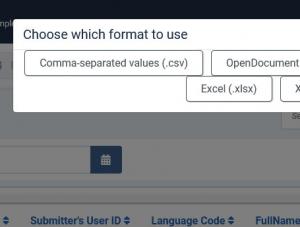
All submissions can be exported to 5 different formats:
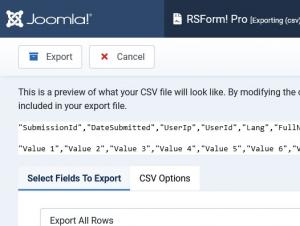
- Export to CSV: export the selected submissions in a CSV file (a preview has been added of how your CSV will look like).
- Export to OpenDocument Spreadsheet: export the selected submissions in a ODS file.
- Export to Excel XML: export the selected submissions in a XML Excel file.
- Export to Excel: export the selected submissions in a XLSX file(Excel 2003 and upwards) file.
- Export to XML: export the selected submissions in a XML file.
After choosing the type of exported file, two tabs will be displayed:
- Select Fields To Export:
- Export All Rows: By selecting this option you will export all the available submissions from the chosen form;
- Export Selected Rows: Choosing this option will export only the selected submissions;
- Export Filtered Rows: By choosing this option will export only the filtered submissions
- Options:
-
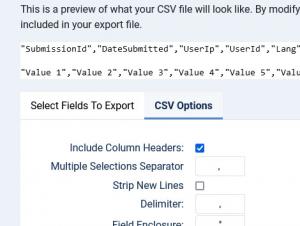
- CSV Options (.csv):
- Include Column Headers:
Check this box if you want to include the headers at the top of your file. - Multiple Selections Separator:
Choose a separator for fields with multiple values - this defaults to your form's settings. - Strip new lines:
If checked, it will strip new lines from Textarea fields. If unchecked, new lines will be converted to br tags. - Delimiter:
The delimiter (separator) is placed between the field values and is usually a comma (,). For example: Value 1,Value 2,Value 3 - Field Enclosure:
The field enclosure encloses each value in the CSV file and is usually a double quote ("). For example: "Value 1","Value 2","Value 3"
- Include Column Headers:
-
- OpenDocument Spreadsheet Options (.ods):
- Include Column Headers:
Check this box if you want to include the headers at the top of your file. - Multiple Selections Separator:
Choose a separator for fields with multiple values - this defaults to your form's settings.
- Include Column Headers:
-
- Excel XML Options (.xml):
- Include Column Headers:
Check this box if you want to include the headers at the top of your file. - Multiple Selections Separator:
Choose a separator for fields with multiple values - this defaults to your form's settings.
- Include Column Headers:
-
- Excel Options (.xlsx):
- Include Column Headers:
Check this box if you want to include the headers at the top of your file. - Multiple Selections Separator:
Choose a separator for fields with multiple values - this defaults to your form's settings.
- Include Column Headers:
-
- XML Options (.xml):
- Include Column Headers:
Check this box if you want to include the headers at the top of your file. - Multiple Selections Separator:
Choose a separator for fields with multiple values - this defaults to your form's settings.
- Include Column Headers:
-
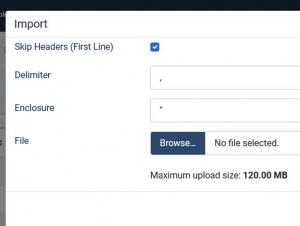
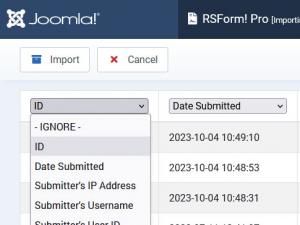
Starting with version 2.1, submissions can now be imported from a CSV format. Simply click on the new 'Import' button, choose either to skip (or not) the headers, set a Delimiter and Enclosue afterwards choose the file and Upload it. You will be pointed to the next step where you can map your fields accordingly.
16 persons found this article helpful.

