Performing a new installation
Installing RSTrone! Template
Follow the steps below in order to be ensured that RSTrone! is installed correctly.
Step 1: Login to administrator panel.
Login into the Joomla! backend administrator with your user credentials.
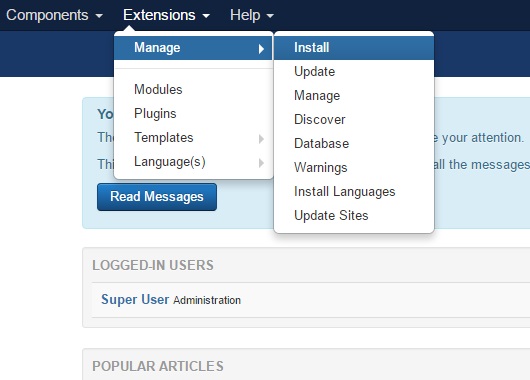
Step 2: Go to Extension Manager
On the top menu, select Extensions >> Manage >> Install.
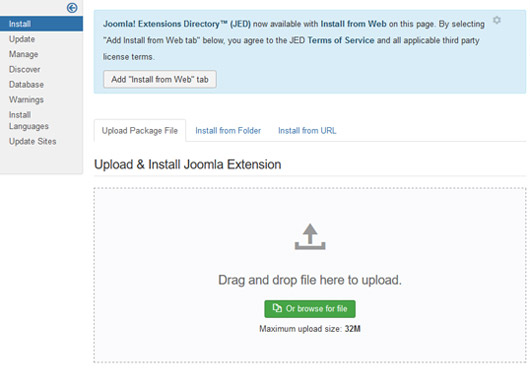
Step 3: Upload your package file
Click Browse or Choose File and select the downloaded zip file, then click on Upload & Install.

Step 4: Get the success message
If the installation was successful, you should see the message "Installation of the package was successful." in a green box.
If the installation produces any errors, check if:
- - The archive you were trying to upload is not corrupted
- - The archive is being correctly uploaded to your webserver
- - The following folder permissions are correctly set: 755 for /templates and at least 755 for the configured Joomla! tmp folder
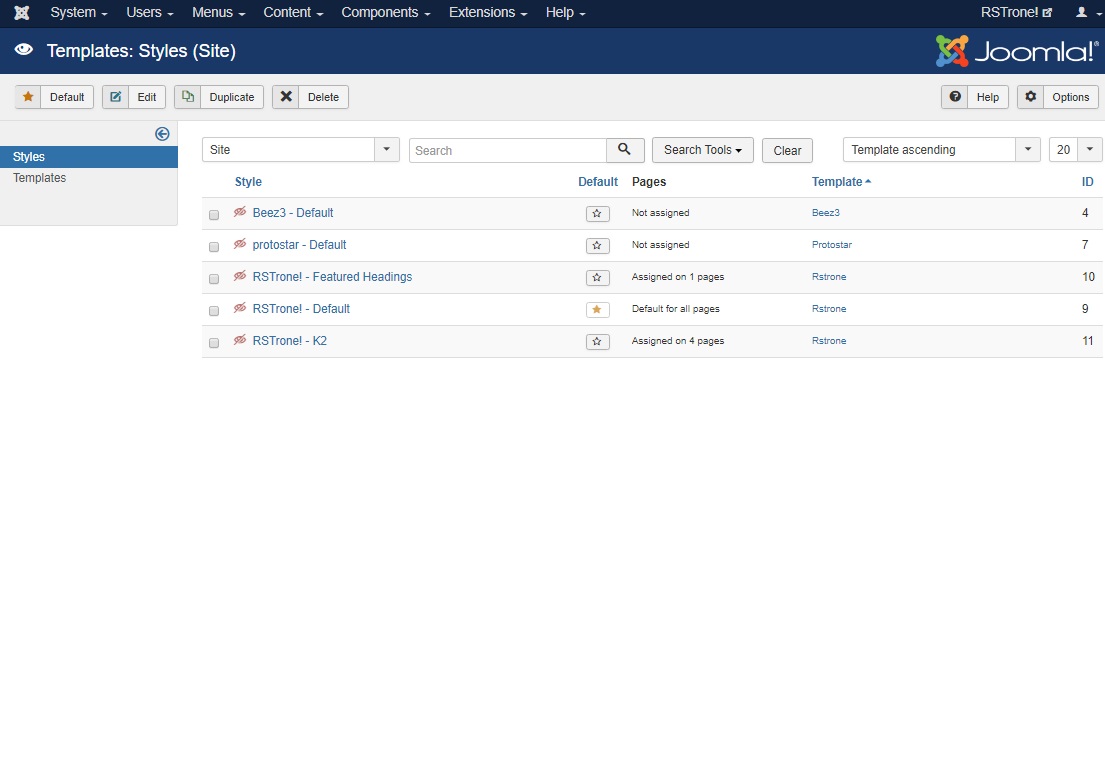
Step 5: Access Template Manager
You can now manage RSTrone! in the Template Manager. In order to use this template by default for your front-end, click on the star icon under the Default column.
5 persons found this article helpful.