Performing a new installation
Install RSPenta!
- Login into the Joomla! backend administrator.
- On the top menu, select Extensions >> Extension Manager.
- Click Choose File and select the zip file you downloaded, then click on Upload & Install.
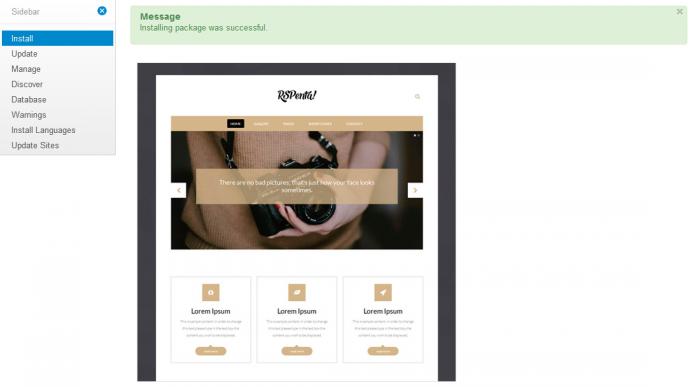
- If the installation was successful, you should see the following message.
- You can now access RSPenta! through the Template Manager.
Sample Data
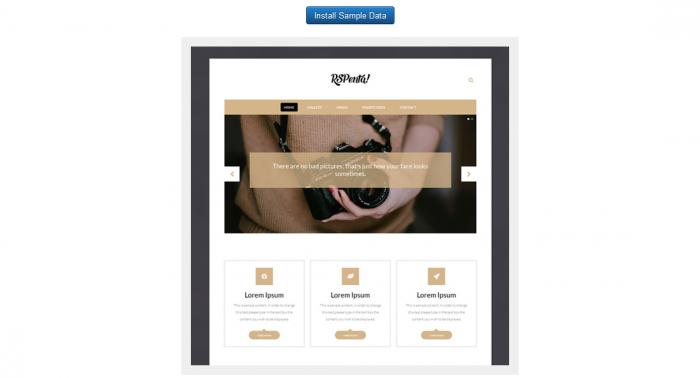
RSPenta! also offers the possibility (optional) to install some sample data to get you started. After installing the template as described above, please head to Extensions >> Template Manager >> edit RSAlto >> Sample Data tab and click on Install Sample Data.
Important: For the sample data to work properly, you need to first install both RSMediaGallery! and its Responsive Slideshow Module.
After you have successfully installed the template, the Getting Started section provides the next steps.
Setting RSPenta! Default Template
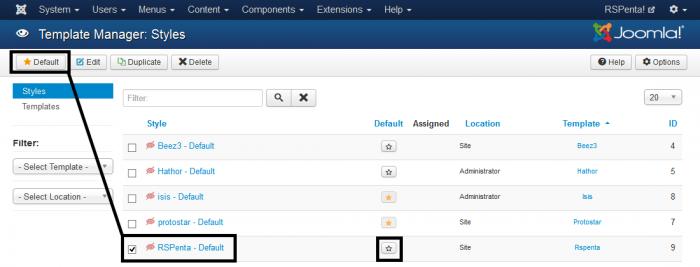
In order to set RSPenta! as the default template for your front-end, head over to Template Manager (Extensions > Template Manager), check RSAlto! and click Default (or simply click the star icon).
If the installation produces any errors, check if:
- The archive you were trying to upload is not corrupted
- The archive is being correctly uploaded to your webserver
- The following folder permissions are correctly set: 755 for /templates and at least 755 for the configured Joomla! tmp folder
One person found this article helpful.


